Use a screwdriver to carefully remove screws and open the remote.
Take note of button placement to ensure correct reassembly.
Step 2: Clean the Contacts
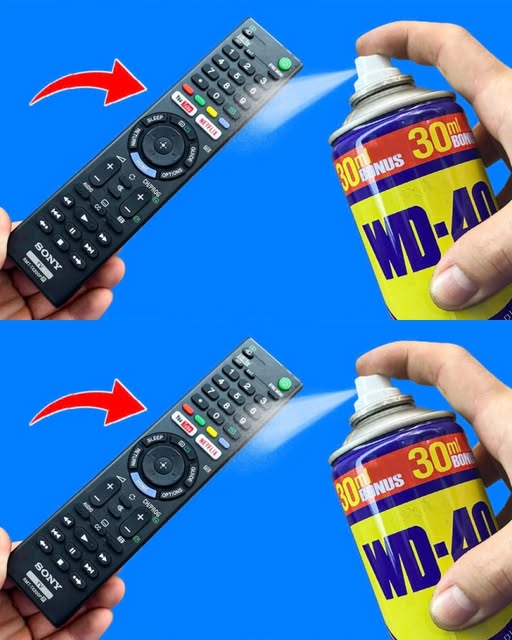
Dip a cotton swab lightly in WD-40 (do not soak it).
Gently rub the metal contacts on both the circuit board and buttons.
This helps remove oxidation, grime, and sticky residue that prevent proper contact.
Step 3: Dry and Wipe Excess
Use a dry cloth to wipe off any extra WD-40.
Let the remote sit for a few minutes to ensure no moisture remains.
Step 4: Reassemble and Test
Put the remote back together, replacing all buttons correctly.
Insert fresh batteries and test functionality.
Extra Tips
For sticky buttons, WD-40 can also help restore smooth pressing.
Avoid spraying directly into the remote—always use a swab or brush.
Repeat the process every few months for remotes that frequently lose connection.
